Hello, my name is Liz Smith and I am an amateur photo editor. I have taken tips and tricks from many sources over many years to put together the method of photo editing that works best for me. I make no claims that this is the best way, the only way, or even the right way. But it's my way and it's my hope that maybe something I mention will help you get the effect you want in your own product shots.
OK here's my version of photo editing:
An online shop is only as effective as its photographs. Good product photography will always be your best marketing tool. I don't have a fancy camera, I use an older model Kodak Easyshare, so I try to make my photos shine with Photoshop. I'm using an older version of PS, CS3. This information will be most helpful to you if you have at least a little experience using Photoshop.
I have a shelf near a window where I put down some white paper and capture the natural light on my subject, which today is a little felted wool pincushion. I set up an object to be in the background and give the photo some depth, in this case a stack of folded linen fabric.
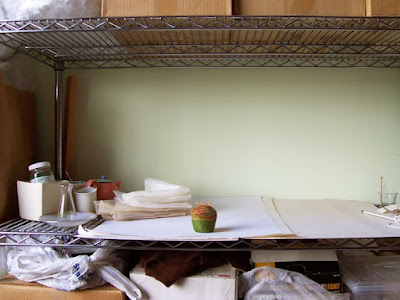
(UPDATE: I'm sure you already know to set your point and shoot to the tulip setting which is Macro for taking close-up shots.) I take a bunch of shots from slightly different angles keeping in mind my final composition will be square. I try not to take 30 shots because I don't want to have to sort through 30 pictures later, I will probably take 5-10. Here's the one I'll edit today:
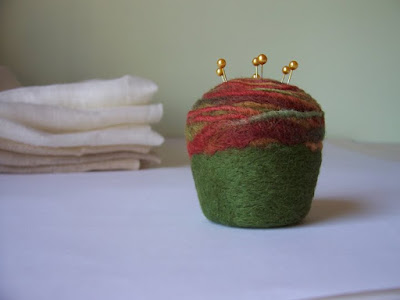
I open the picture in Photoshop and use the crop tool to make my favorite size for Etsy listings, 8 inches x 8 inches at 125 DPI. This makes it so when my customer clicks on the picture it will become larger and give them a chance to take a good, close look while the picture remains within Etsy's size parameters.
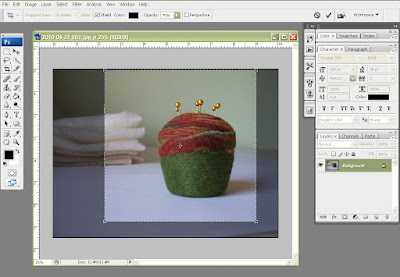
I make a copy of this layer so I can work on the copy without ruining the original picture. When I use layers, if I don't like how the adjustments I've made look and it's too much to undo undo undo, I can discard the whole layer, make a new one and start again.
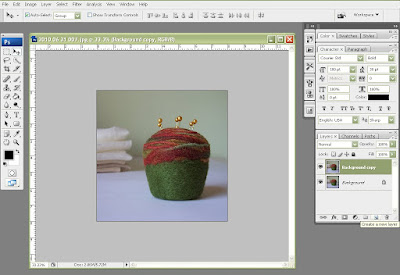
Sometimes I mix it up, but usually the next thing I do is adjust the color. I like my images to look a little golden so I boost the red and yellow.
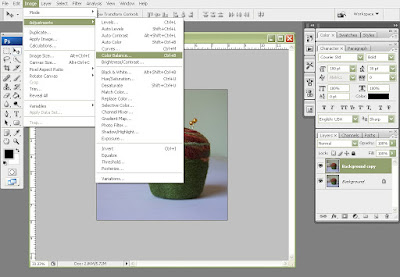
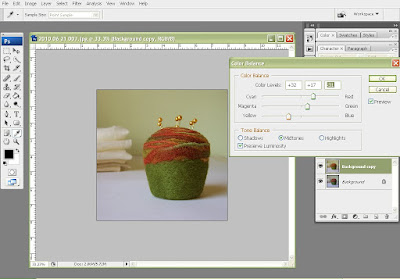
After each successful adjustment I make, I flatten the layers and make another copy.
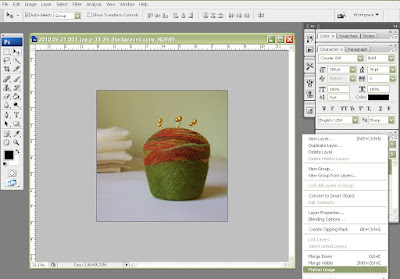
My photos always seem to come out of the camera with a grayish cast so another adjustment I make is brightness and contrast.
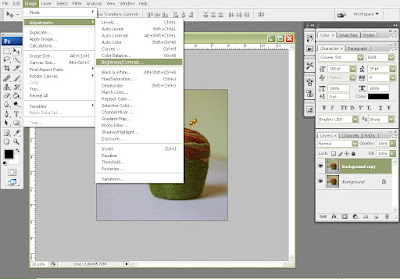
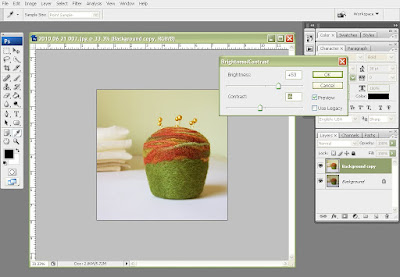
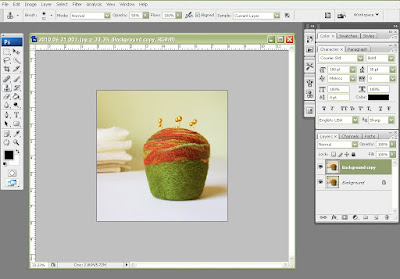
Sometimes I will raise the brightness while reducing the contrast so details are not lost, then flatten, make a new layer and heighten the contrast as a separate step.
If I over brighten, the details can get blown out. Sometimes I will brighten an image and then use the eraser tool on the blown out highlights so the darker version from below shows through. You can adjust the strength of the eraser tool to slightly erase portions of the top layer or full strength to fully erase.
I also use this erase-parts-of-the-top-layer thing to create the illusion of depth of field. If I had a single lens reflex camera with which I could manually adjust the focus, I could make my object clear while letting the background blur out. I love that look. I fake it using layers, Gaussian blur and erasing.
I make a layer copy and apply Gaussian blur, adjusted to the level that works best for this photo, concentrating on how the background looks.
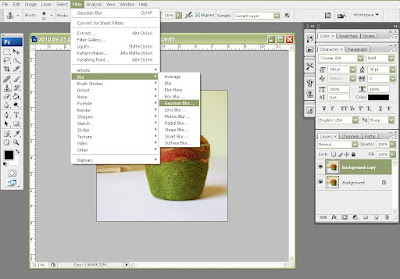
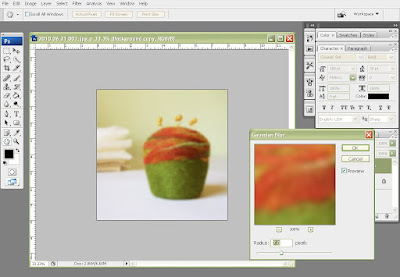
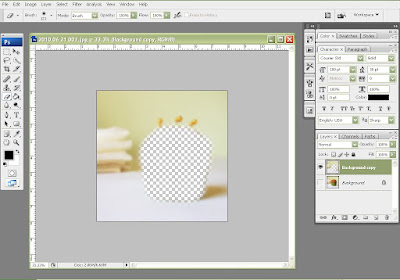
Then I start erasing the object I want to remain clear on the top layer. I'm terrible at using selection tools so I just carefully erase using the eraser tool.
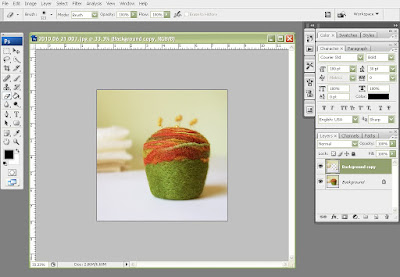
I sometimes hide the bottom layer for a minute and see where I'm erasing.
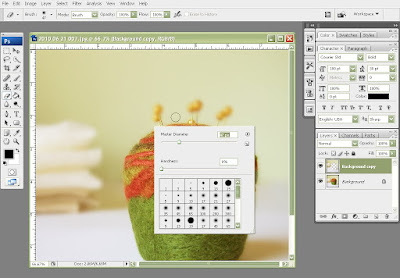
I enlarge the image (Ctrl +) and adjust the eraser size (right click) to work on the small details
I used to go to Levels first thing when I edited an image, and sometimes I still do. But I found I prefer to use color balance and Brightness/Contrast first which to me, feel like more nuanced adjustments. Levels is a great tool to add a sharp bit of brightness and contrast so if the picture still lacks that eye-catching zing I like to see, I'll touch up the levels a bit.
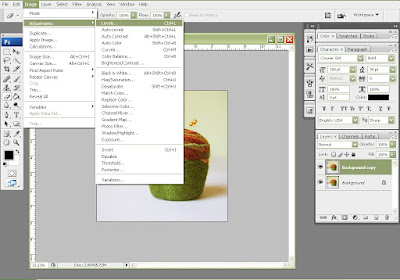
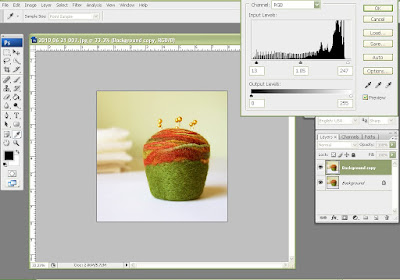
I didn't illustrate its use here, but another tool I love is the Clone Stamp. You can clone out little bits of lint and dirt, or use it at a reduced opacity to clone out weird blown-out highlights and such. I also use it to clean up and straighten the horizon line in the background.
Here is the final picture I will use in my Etsy listing:
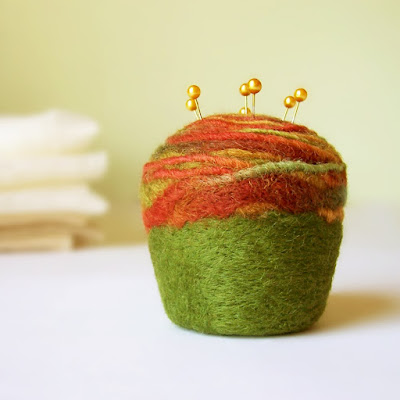
That's my quirky little version of photo editing for product shots. Thanks to all the kind and generous people who have shown me the different things I can do with Photoshop which have become invaluable in running my online business.
UPDATE: Here's a link to Julie's response tutorial on using masks and layers!


